Fargo DTC550 Printer Prints ID Cards with Pink Streaks

bad id printing

The pink lines on this card are caused by the Ribbon Peel-Off Bar being too high on the lower edge of the card (side towards the front of the printer).

bad id printing

The pink lines on this card are caused by the Ribbon Peel-Off Bar being too high on the upper edge of the card (side towards the rear of the printer).

bad id printing

The pink lines on this card are caused by the Ribbon Peel-Off Bar being too high on both edges of the card.

To correct this problem, it is best to consult with the technical support staff from the integrator who sold you the printer. They may recommend that you lower the end of the Ribbon Peel-Off Bar that towards the back of the printer. A very small adjustment is required.

For additional information about Fargo printer models, contact our ID card experts at 888-485-4696.

Fargo DTC500 Printer Prints with Incorrect Image Placement

Occasionally, someone who is printing ID cards will have an issue with the beginning of the card design starting somewhere after the front edge of the plastic ID card. There is a strip of white that is left prior to the beginning of the colored badge design. A picture of what this might look like is below.

The white strip on the leading (right) end of the card is the result of the card being too far forward when the printer begins printing.

To correct this problem, decrease the Print TOF (Top Of Form). This setting is adjustable from the LCD panel on the front of the printer.

For information about ID printers such as the Fargo printer models, feel free to contact our ID card experts at 888-485-4696.

Fargo DTC500 Printer Prints with White Pixel Lines Across the ID Card

It is common for our technical staff to hear a customer call and wonder why there is a white clear line across the ID cards that they are printing with their ID card printer. Following are pictures of two types of white lines on printed ID cards.

printhead damage

The white line in the above picture across the card is wide and is caused by physical damage to the printhead.

Printhead Problem

The light thin straight line across the card is normally caused by a bad pixel in the printhead. Although a line this thin can be caused by a damaged printhead, it is usually due to a burned out pixel.

To correct either of these problems, the printhead assembly needs to be replaced. For information about Fargo printer printhead replacements with the Fargo DTC550 or other Fargo printer models, contact our ID card experts at 888-485-4696.

Fargo DTC500 Printer Prints Light Edges

Various ID card printing issues cause ID card printing output to be substandard to requirements. The following recommendation may be helpful to those who find the edges of their card printed too lightly.

Light edges on the bottom of this card indicate that there is not enough printhead pressure on the bottom edge of the card. This problem can also be caused by defective card stock. To determine if the cause is the card stock, rotate the cards end for end in the card input hopper. If the light edge moves to the opposite side of the card the cause is bad card stock and not uneven printhead pressure.

To correct this problem either lower the end of the printing edge that is towards the front of the printer or raise the end of the printing edge that is towards the back of the printer. Our Head Pressure Adjustment page will walk you through this procedure.

Light edges on the top of this card indicate that there is not enough printhead pressure on the top edge of the card. This problem can also be caused by defective card stock. To determine if the cause is the card stock rotate the cards end for end in the card input hopper. If the light edge moves to the opposite side of the card the cause is bad card stock and not uneven printhead pressure.

To correct this problem either raise the end of the printing edge that is towards the front of the printer or lower the end of the printing edge that is towards the back of the printer. Our Head Pressure Adjustment page will walk you through this procedure.

Please consult with the ID card integrator technical support area where you purchased your printer to obtain assistance for your specific printer issue prior to adjustment. For information about the Fargo DTC550 and current Fargo printers, contact our ID Card experts at 888-485-4696.

Fargo DTC550 Printhead Angle Adjustment

The following procedure, provided by technical support representatives for Fargo printers, can be used to adjust the Printhead Angle on the Fargo DTC-550 series printers. When bar codes print too light and also darker on the same card in the same printer pass, you may be directed by a technical expert to adjust the angle of the printhead.

Warning! Remove all jewelry, rings, watches, bracelets etc. from your wrists and hands before beginning work with the printhead. The printing edge is extremely fragile and is easily damaged. It is strongly advised that you work in a static protected area.

To adjust the printhead angle, loosen the printhead angle lockdown screws at both ends of the printhead.

dtc550 print head

Turn the Printhead Angle Adjustment Wheel to change the angle of the printhead relative to the ribbon. Turning the wheel clockwise (top of wheel moved in the direction of the back of the printer) will increase the printhead angle. Turning the wheel Counter-Clockwise will decrease the printhead angle. After making the adjustment re-tighten the Printhead Angle Lockdown Screws.
DTC550 printhead

Please consult with the ID card integrator technical support area where you purchased your printer to obtain assistance for your specific printer issue prior to adjustment. For information about the Fargo DTC550 and current Fargo printers, contact our ID Card experts at 888-485-4696.

Fargo DTC550 Peel Off Bar Adjustment

Ribbon Peel-Off Bar Adjustment

The following procedure can be used to adjust the Ribbon Peel-Off Bar on the Fargo DTC-550 series printers. You may need to adjust the peel off bar when the color printed on the platic ID card from the printer is not consistant in intensity across the entire surface of the card.

Warning! Remove all jewelry, rings, watches, bracelets etc. from your wrists and hands before beginning work with the printhead. The printing edge is extremely fragile and is easily damaged. It is strongly advised that you work in a static protected area.

The ribbon peel-off bar should be adjusted to the lowest point possible without allowing any pressure on the card. If it is adjusted too low, the card will bump into it and cause a line to appear on the card. If it is adjused too high, the ribbon will lift off the card too soon and cause ribbon wrinkle.

To raise or lower the ribbon peel-off bar, loosen but, do not remove, both peel-off bar hold-down screws.

Raise or lower the Peel-Off bar by adjusting the Peel-Off bar adjustment screws. Turn the screws clockwise to raise the Peel-Off bar and counter-clockwise to lower it. Generally both ends should be raised or lowered equally to keep the Peel-Off bar parallel to the printing edge of the printhead.

After raising or lowering the Peel-Off bar, tighten the Peel-Off bar hold-down screws.

Please consult with the ID card integrator technical support area where you purchased your printer to obtain assistance for your specific printer issue prior to adjustment. For information about the Fargo DTC550 and current Fargo printers, contact our ID Card experts at 888-485-4696.

Fargo DTC550 Printer Head Pressure Adjustment

Head Pressure Adjustment

The following procedures provided from technical support personel are offered to balance the printhead pressure on the DTC-550 series printers. You may need to balance the printhead when the edges of the top or bottom of the the plastic ID card print too light.

Warning! Remove all jewelry, rings, watches, bracelets etc. from your wrists and hands before beginning work with the printhead. The printing edge is extremely fragile and is easily damaged. It is strongly advised that you work in a static protected area.

Loosen but, do not remove, the two peel off bar hold down screws. DO NOT let the peel-off bar come into contact with the printing edge as it may result in damage that can seriously affect print quality.
Fargo DTC550 Printhead

To balance the printhead pressure, either lower the end of the printhead that is printing light or raise the opposite end of the printhead. Typically, the printhead is assembled with the print edge at its lowest point making it necessary to raise the end of the print edge that is opposite the light edge. Usually about 1/64 of an inch is sufficient. Raising or lowering the print edge too much will result in a light edge on the opposite side of the card.

After loosening the two peel off bar hold down screws, only loosen the printhead mounting screw on the end of the printhead that you wish to raise or lower. DO NOT loosen the other printhead mounting screw.
Fargo DTC550 Print Head

Using a small pocket sized screwdriver, carefully pry the head of the loosened printhead mounting screw to raise or lower that end of the printhead.
Fargo DTC550 printhead
Fargo DTC500 printhead

After balancing the printhead pressure it may be necessary to adjust the ribbon peel-off bar to maximize print quality.

Please consult with the ID card integrator technical support area where you purchased your printer to obtain assistance for your specific printer issue prior to adjustment. For information about the Fargo DTC550 and current Fargo printers, contact our ID Card experts at 888-485-4696.

Download the Fargo HDP5000 Driver for Apple OS X Operating Systems

If you are operating a Mac computer and a Fargo HDP5000 ID card printer, you will need to download the Mac driver for the HDP5000 card printer. Standard drivers included with the printer are for PC computers. Directions from HID Global tech support for the Mac driver download are as follows:

1. Open your web browser and go to https://www.fargosupport.com/

2. On the HID support web page, select the HDP5000 card printer from the dropdown list.

3. After selecting the printer choice from the “What type of product?” list, a new list, “For what product”, will appear. Select HDP5000 from this list.

4. After selecting the HDP5000 printer, click the Go button.

5. Under the printer driver section, scroll down to the HDP5000 Macintosh Driver and click in it to download the driver.


6. Select the Save file and click the OK button. Your web browser settings will determine where the file is downloaded on your computer.

7. When the HDP5000 V1[1].0.0.4.pkg.zip finishes, you can close the Downloads window.

For more information about the Fargo HDP5000 printer or other Fargo printer models, contact our ID card experts at 888-485-4696.

How Dye Sublimation Printing Works

Printer RibbonDye sublimation printing is chosen often because of the quality photographic printing results that this type of printing provides. The printing process is also known as dye sub. In this process, a thermal transfer provides a specific amount of colored dye pigment to section of a card surface. In ID card printing, this colored pigment is derived from a printer ribbon, transferred by the print head and deposited onto the plastic card surface. The pigment is able to bond chemically with the card due to the heat used in the transfer process.

The printer ribbon is a roll of film, sometimes in a cartridge, that consists of a number of repeated panels. The yellow, red and blue panels (YMC) provide various colors available while black and clear panels provide black color and an overcoat panel. The YMC panels hold heat sensitive dyes that can be combined in various amounts to create a broad range of colors. The black panel is a plastic resin and is not mixed with the other panels. It is used to provide solid black color that is most frequently used for barcodes on a badge. The protective coat, the O panel, is applied to the entire surface of the card to provide extra protection and durability to the card.

All of the colors needed from the panels are transferred when the print head of the printer is activated. The print head contains about 300 pixels per inch. Each individual pixel is separately activated and heated to transfer a specific amount of color, black or overlay panel to an area of the card. The dye is vaporized due to the heat and bonds to the plastic card surface. They dye does not become liquid, but changes straight from a solid into a gas.

Because of the way the vaporized dyes permeate the surface of the card, a gentle gradation at the edges of each pixel is created – not the conspicuous border between color and substrate produced by inkjets. Also, because the color infuses and bonds with the card material, it is less vulnerable to fading and distortion over time.

Most ribbons are set up in the Y (yellow), M (magenta), C (cyan), K (black), O (overlay) order. There are specialized panels and variations to this standard with the addition of security options and other printer features.

For information about PVC cards, contact our ID card experts toll free at 888-485-4696.

Tips for Troubleshooting ID Card Printer Errors

Overall, ID card printer systems are easy to use. Installation involves installing a plug and play printer driver on your computer system. The ID badge software can be downloaded and after typing in the license key, the majority of the printing system is installed and ready to begin.

One of the more difficult preprinting activities may be the badge design. Getting managers and other authorized people to agree on the final look is often the most time consuming process.

Once printing has started, the printer system is fairly to use. Occasionally they need a bit of human assistance to continue providing quality cards. Printer ribbon and PVC cards need to be monitored and added regularly during printing jobs.

Printers do malfunction and many of the issues can be easily fixed. Issues with printer ribbons and card feeding are the most common problems with ID card printers. Following are some common errors and basic troubleshooting.

Unable to Feed Card Message

This error message will display on the LED or LCD screen when a printer cannot detect card stock in the input hopper. Either the cards are not loaded, have run out or are loaded incorrectly.

To fix this error, check the card hopper to ensure that the cards are indeed located in the hopper and are not stuck together. You may need to carefully fan the cards, without touching the card surface, to ensure that the cards are not stuck together. Straighten them back into a single stack of cards and place the cards back into the hopper. Close the hopper cover and continue attempting to print by pressing the resume button.

If the printer will still not receive the cards from the hopper, cancel the print job by pressing the cancel print button. You may need to power off the printer, wait for a small bit of time and turn the printer back on. The original errors will be cleared and you can attempt to print the card again.

Ribbon Sensor Error Message
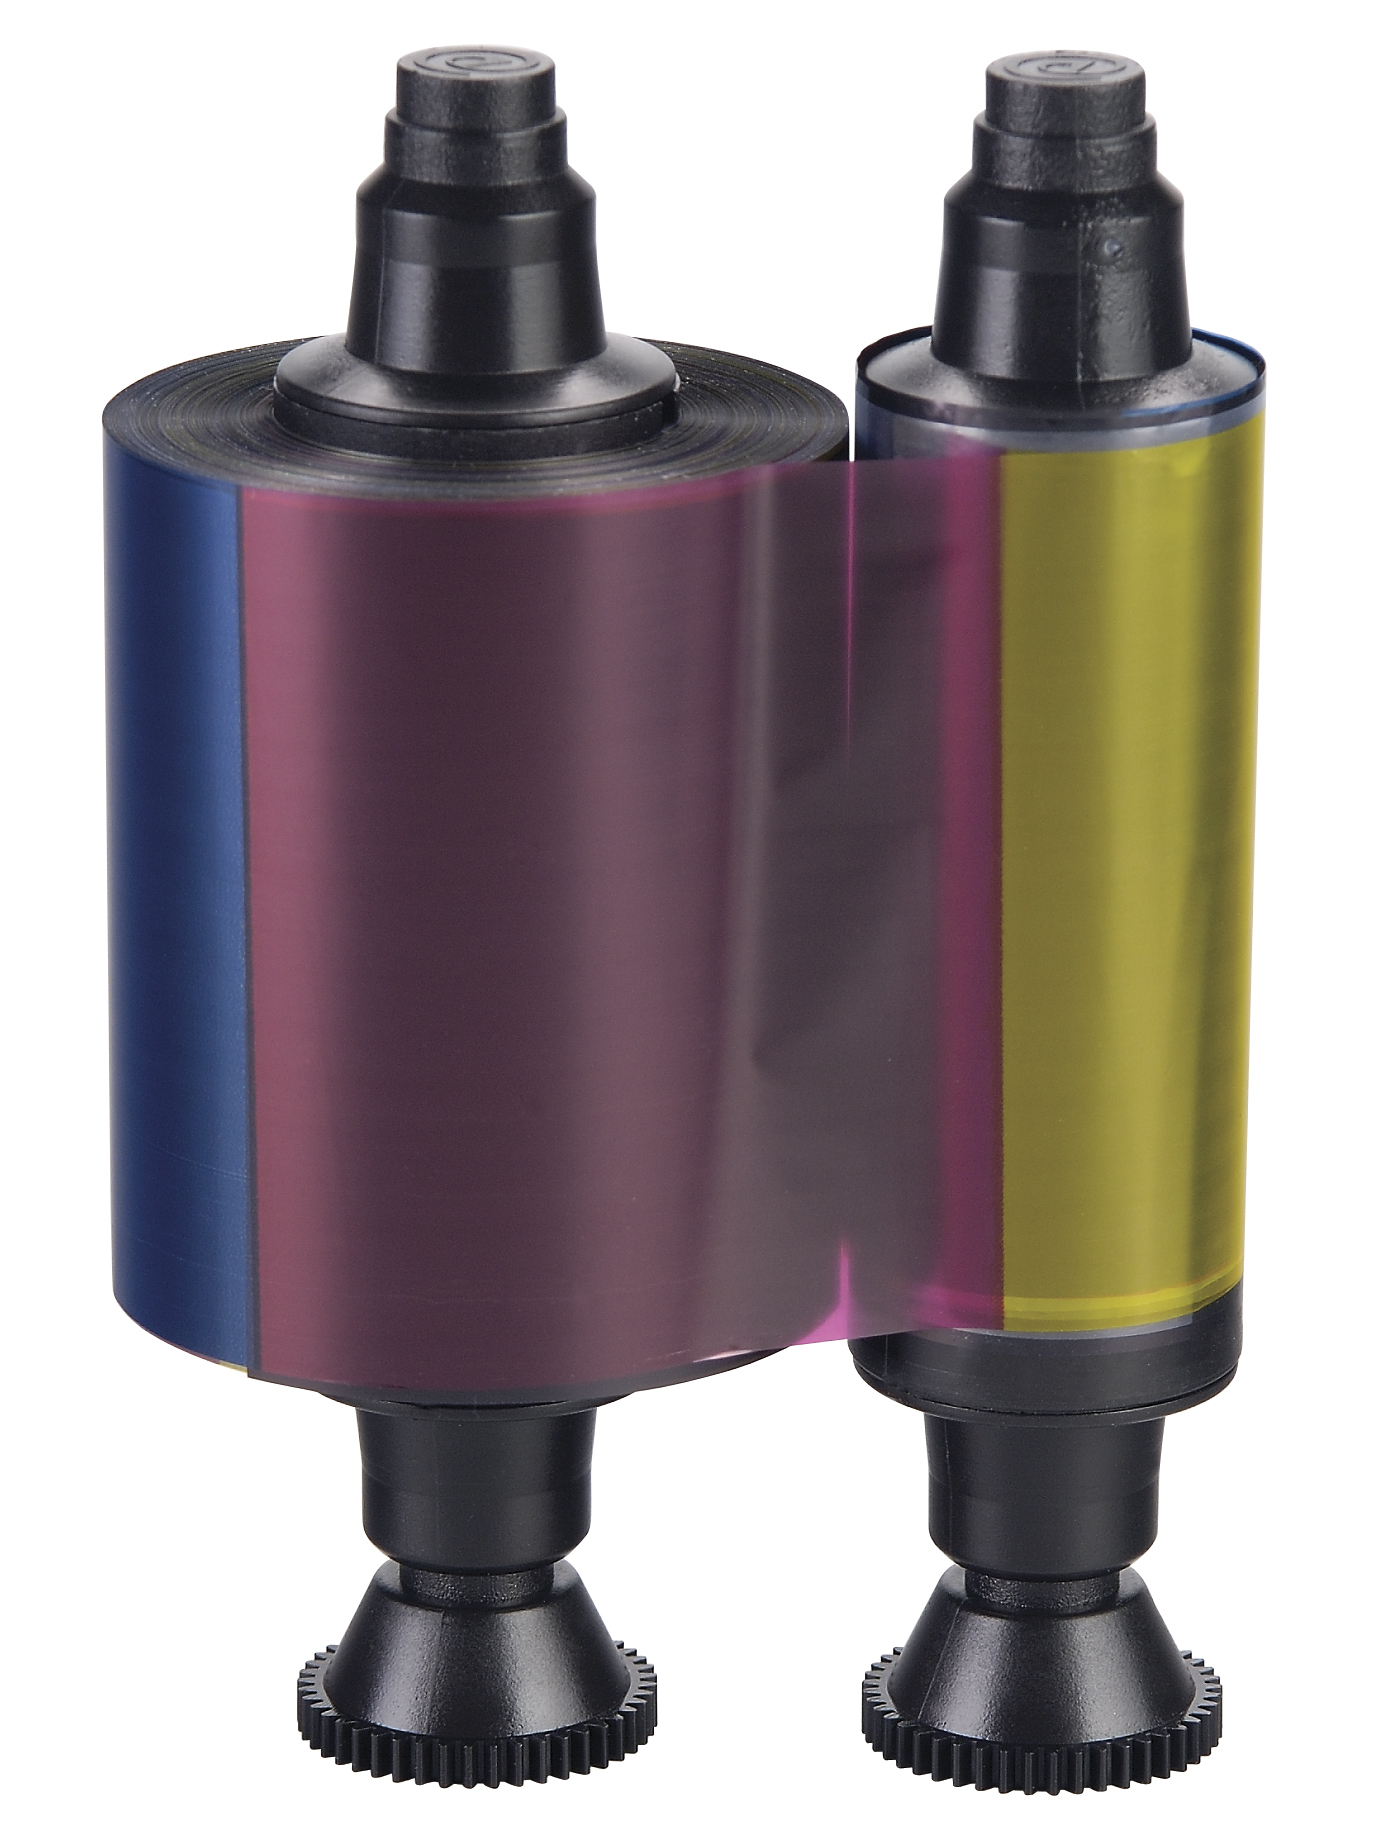
This error occurs when the printer is unable to locate the next panel on the print ribbon. This may man that the printer ribbon has broken or has been damaged in some way. A ribbon that does not advance correctly will cause a printer error. To fix this error, you will need to open the printer and remove the printer ribbon. You need to look at the ribbon for tears, wrinkles or breaks and repair them.

To fix a tear or break in the ribbon, connect the two ends of the ribbon with a piece of scotch tape. Wind the ribbon forward past the taped section and place the print ribbon back into the printer. If the ribbon is wrinkled, straighten out the ribbon, and advance the ribbon past the damaged section of the ribbon so that the printer does not access that section of the ribbon. When the ribbon is placed back into the printer after being repaired, you can press the resume button to direct the printer to continue printing.

Card Jam Error
Most all ID card printers will input 30 ml cards. Some printer models will accept various card thicknesses ranging from 10 ml to 40 ml. The printers are sensitive to the specific card thickness that is being placed in the card hopper.

To resolve a card jam error, open the printer cover and remove the print ribbon. Press the cancel, pause, forward or backward buttons to move the rollers back and forth. This should free the jammed card. Remove the card, replace the print ribbon and close the cover. You should be able to resume printing with a new card from the hopper.

By following manufacturer instructions found in your operations manual, the correct adjustments can be made to continue printing. If your printer displays something not defined in your manual, it is always best to contact the manufacturer or your ID card printer distributor for additional assistance.