ID Card Printing Tips for The Zebra P330i Card Printer
1. Install the print driver.
2. Load the print ribbon, cleaning cartridge and the cards.
3. Plug in the correct power cord for your location.
4. Connect the USB cable to the printer and computer.
5. Turn on the printer.
6. The LCD will display “initallizing” and then “ready”.
7. Teh computer will recognize the printer.
8. Slide out the output hopper.
9. Begin printing.
8. The LCD will display the action of the computer during printing.
Find out specific information about Zebra Printer models:
Zebra P110i
Zebra P120i
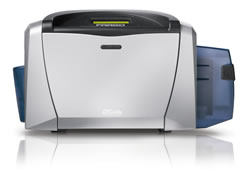
Zebra P330i
Zebra P430i
For other Zebra printing tips see the following videos:
Zebra P330i – Using the Single Card Feeder>br/>
Zebra P330i – Installing A Print Ribbon
Zebra P330i – Loading PVC Cards
Zebra P330i – Installing Printer Drivers
Zebra P330i – Installation Tips